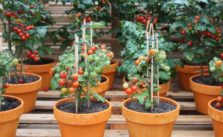
Tips on Growing Tomatoes in Containers or Pots – Tomatoes are easy to grow and ripe fruit can be harvested from early summer through the end of the year in coastal areas of San Diego County. With a little basic knowledge, anyone can produce a bountiful crop.
Selection and Care on Growing Tomatoes
1. Selecting Varieties
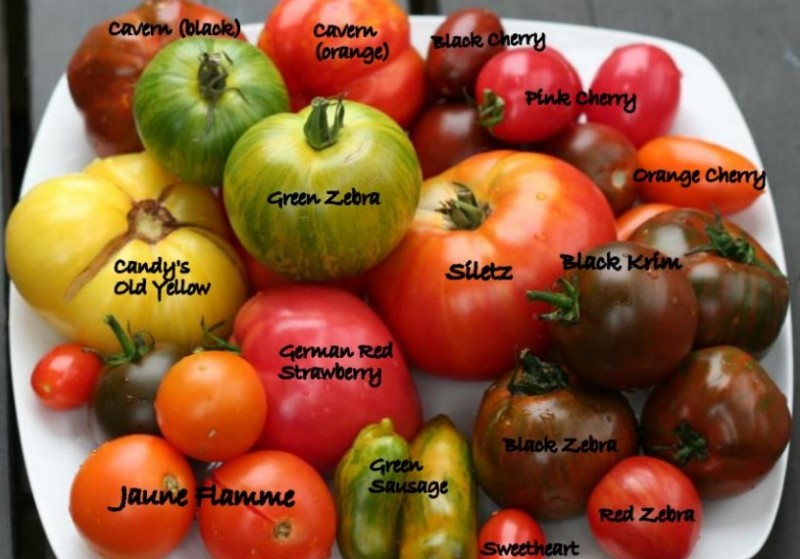
Plant breeders have developed hundreds of different tomato varieties. Standard red fruited varieties are most popular, but cherry, pear, and plum-type tomatoes are also available as well as varieties with yellow or pink colored fruit.
Planting disease-resistant varieties is the only way to avoid certain pest problems. Resistance to verticillium wilt and fusarium wilt is indicated by the letters V and F after the variety name. These soil-born fungi infect roots of susceptible varieties and plug the water-conducting tissues, causing the plants to wilt.
The letter T indicates resistance to tobacco mosaic virus. This disease does not kill tomatoes, but it stunts their growth and can reduce fruit production by as much as 25 percent. Resistance to root-knot nematodes is indicated by the letter N.
2. Sources of Seed and Transplants
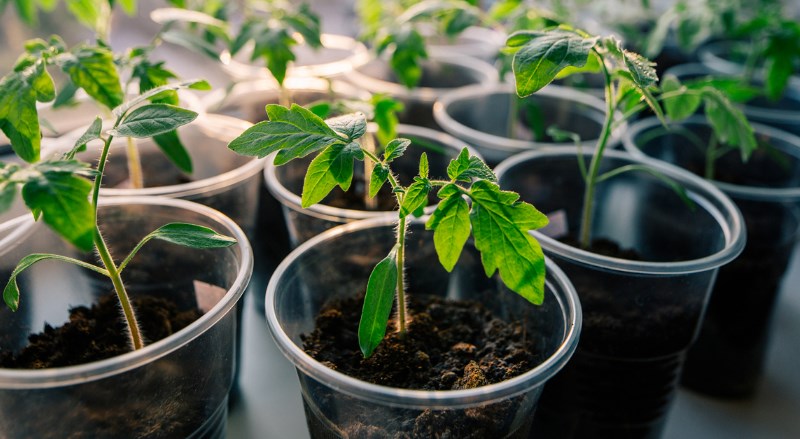
Packets of seed can be purchased from garden centers or from mail-order catalogs. Tomato seedlings can be purchased at local garden centers; however, many tomato varieties are not available as seedlings.
Plants ordered from other states via the internet are more likely to have diseases like tomato yellow leaf-curl virus or other diseases not found in our area. Saving seed from hybrid tomatoes to plant the following year is not recommended since the next generation of plants will not have the same characteristics as the parent plant.
3. When and Where to Plant
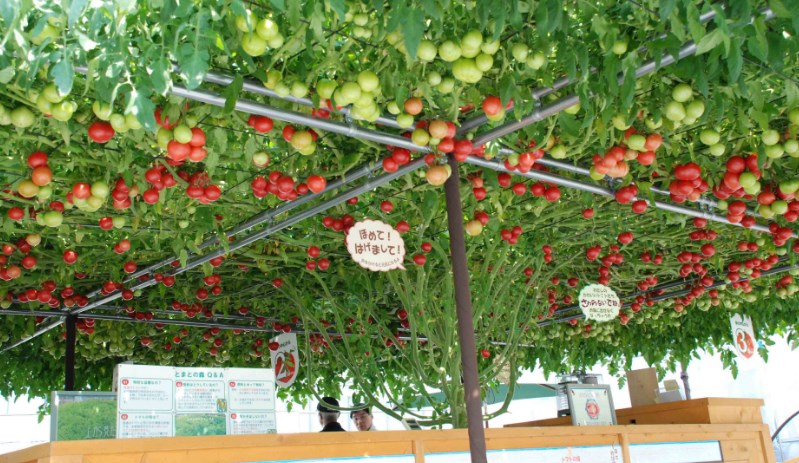
Tomatoes are warm season vegetables. They should be planted after the danger of frost has passed and the soil is warm. It is usually safe to set out transplants in early March near the coast and two to four weeks later in coastal valleys. Earlier planting is possible if plants are protected with hot caps or row covers; however, early plantings often do not produce fruit much sooner than plants set out later when temperatures are more favorable.
Spring planted tomatoes usually produce fruit during the summer for two to three months. It is best to make a second planting in June or early July if you want to harvest tomatoes during the fall. For best production, tomatoes should be planted in a location where they will receive at least eight hours of sunlight a day.
When you select a planting site, remember that the roots of nearby shrubs and trees will compete with tomatoes for water and nutrients.
4. Soil Preparation and Use of Fertilizer
Tomatoes will grow in a wide range of soils, as long as there is adequate drainage. Adding composted organic matter to a soil will improve its productivity, especially if the soil is very sandy or clayey. Use a vegetable starter fertilizer containing nitrogen, phosphorus, and potassium at the rate recommended by the manufacturer.
Broadcast the fertilizer over the garden and incorporate it into the soil by spading or rototilling to a depth of eight inches. If manure is used, incorporate it into the soil several weeks prior to planting and irrigate thoroughly. This allows time for decomposition to begin and leaches harmful salts out of the surface soil.
When plants begin to set fruit apply a fertilizer containing nitrogen. Scatter the fertilizer evenly around the plant, about a foot away from the stem, then rake it into the soil and irrigate. Apply more nitrogen fertilizer at monthly intervals as long as plants continue to set new fruit.
5. Choose the Right Pots
Those seedlings may look small now, but a full-grown tomato plant needs a lot of space for a strong root system. For maximum production, the ideal pot size is 18-inch diameter for determinate tomatoes and 24-inch diameter for indeterminate tomatoes. When using a fabric pot or other type sold by volume, aim for 20 gallons.
It’s fine to use a smaller container, like a 5-gallon bucket or 10-gallon container, but for best results, stick with the smaller patio- or bush-type tomatoes (such as Better Bush, Bush Goliath, or Patio). Know, too, that tomatoes in smaller pots require more watering and feeding.
All containers (except fabric ones) need drainage holes, so be sure to drill several if none are present. If you live in a warm region like the Deep South, Desert Southwest, or Texas, you may want to avoid black plastic containers. They tend to hold a lot of heat, which warms the soil and can diminish plant growth.
6. Growing in Containers
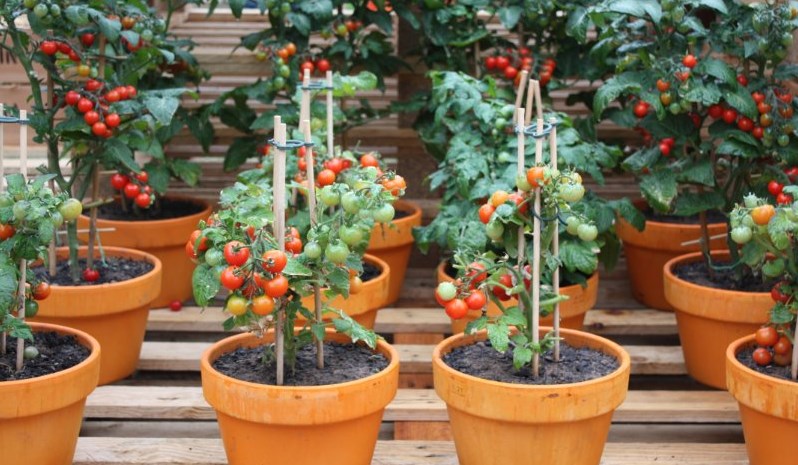
People who do not have garden soil can still grow tomatoes by planting them in containers. Tomatoes are easier to manage if they are planted in large wood or plastic tubs. Some compact varieties can be grown in five-gallon plastic nursery containers. Containers should be filled with commercial potting soil, which has better aeration and water-holding characteristics than field soil.
Tomatoes planted in containers must be watered and fertilized more often than field grown plants because of the limited soil volume. Good results can be obtained by using a slow release fertilizer or apply a soluble fertilizer every two weeks. When the soil begins to dry, apply enough water so that some will drain out of the bottom of the container to prevent harmful amounts of salt from building up in the soil.
7. Starting Plants from Seed
Tomato seed can be planted directly in the garden when the soil is warm or sown in small containers indoors six to eight weeks before plants will be set out in the garden. Tomato seed germinates most quickly when the soil temperature is at least 75 degrees Fahrenheit.
Plant two to four seeds in each pot or garden location and cover them with about one-fourth inch of soil. Thoroughly wet the soil and water lightly whenever the surface begins to dry. If the weather is cool, cover seeds planted outdoors with hot caps or with a row cover material to increase the soil temperature.
Use a commercial potting soil for starting seeds indoors. After seedlings emerge, place them where they will get the sun for at least eight hours a day. When seedlings have two sets of leaves remove all but the strongest seedling in each container.
8. Planting Transplants
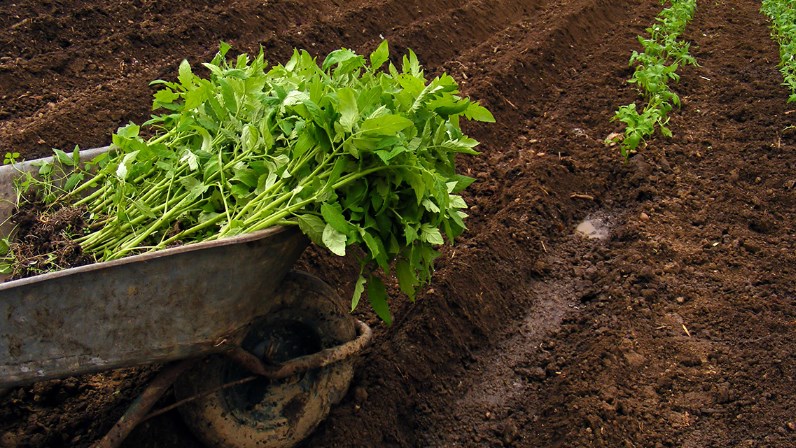
Many people prefer to buy young tomato plants from a nursery. Try to select young, vigorous plants that have leaves with a medium green color. Avoid buying plants that show signs of stress, such as yellowish foliage or premature flowering.
Plant seedlings as soon as possible after you buy them. Space plants two to three feet apart. Dig a hole deep enough to plant the seedling two to three inches deeper than it grew in the container. Roots will develop along the buried stem. Water seedlings immediately after they are planted.
9. Hotcaps and Row Covers
Hotcaps are cone shaped structures made of plastic or paper. They are placed over seedlings for frost protection. Plastic hot caps can be used as a mini greenhouse to warm the air and soil next to a seedling to promote faster growth. A few seed catalogs offer hot caps for sale. Some gardeners make their own by cutting out the bottom of a plastic, one-gallon water jug.
Newly planted a tomato seed and young plants can be covered with a floating row cover to promote faster growth. Floating row covers are lightweight fabrics that allow most of the sun’s light to reach the plants.
Heat is trapped beneath the row cover, however, since the fabric is porous, high temperatures do not build up as quickly as they do under clear plastic. Row covers enhance plant growth and can usually be left in place for six to eight weeks.
10. Irrigation
After tomatoes are planted, irrigate them thoroughly until the soil is wet at least two feet deep. During the first month, water young plants lightly when the surface soil begins to dry out (once or twice a week).
As plants increase in size, apply more water and wet a larger area around each plant. If you use basins for irrigation, make them at least three feet in diameter. During warm weather, tomatoes usually need to be watered every five to 10 days; more often on sandy soil and less often on clay.
11. Supporting Plants
To conserve garden space, support tomato vines with wire cages or wooden stakes. This keeps fruit off the ground and reduces decay and insect damage. As the vines grow, tie them to supports with plastic tape or strips of soft cloth.
12. Pruning
Tomato plants should be pruned as little as possible. Removing “suckers” will not increase fruit production. Severe pruning decreases yields and can increase sunscald of fruit.
13. Fruit Set and Use of Hormone Spray
Blossoms frequently fall from tomato plants when temperatures are unfavorable for pollination. Fruit set will not occur on many varieties when night temperatures are below 55 degrees Fahrenheit or when day temperatures are above 90 degrees Fahrenheit.
During cool weather, you can improve fruit set by spraying the flower clusters with a hormone “Blossom Set” product available at nurseries. Hormone sprays are not effective during hot weather.
Shaking flower clusters during the hottest part of the day also helps release pollen from the flowers and increases fruit set during cool weather. This is easy to do if plants are tied to stakes. Blossoms may also fail to set due to poor soil fertility, too much shade, lack of soil moisture, and excessive use of nitrogen fertilizer.
14. Harvesting and Storing Fruit
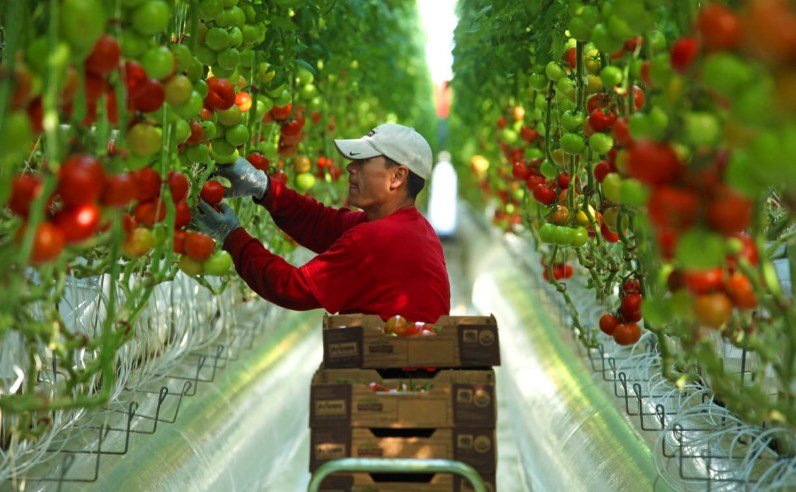
Tomatoes picked at the mature, green stage will eventually turn red, but allowing fruit to ripen on the vine produces the best flavor. It is best to store tomatoes in a cool place as close to 60 degrees Fahrenheit as possible. Do not store ripe tomatoes in the refrigerator, since temperatures below 55 degrees Fahrenheit will reduce their flavor.
Common Pests and Problems on Growing Tomatoes
1. Cutworms
Cutworms are the larvae of several different kinds of moths. The larvae are gray, brown, or black, often with a mottled appearance. They measure one and a half inches in length when fully grown and often curl up when they are uncovered.
The most damaging cutworms spend most of their time in the soil where they cut off seedlings or transplants at ground level. Protect plants by placing heavy paper or cardboard collars two to three inches high around seedlings or transplants.
2. Tomato Hornworm
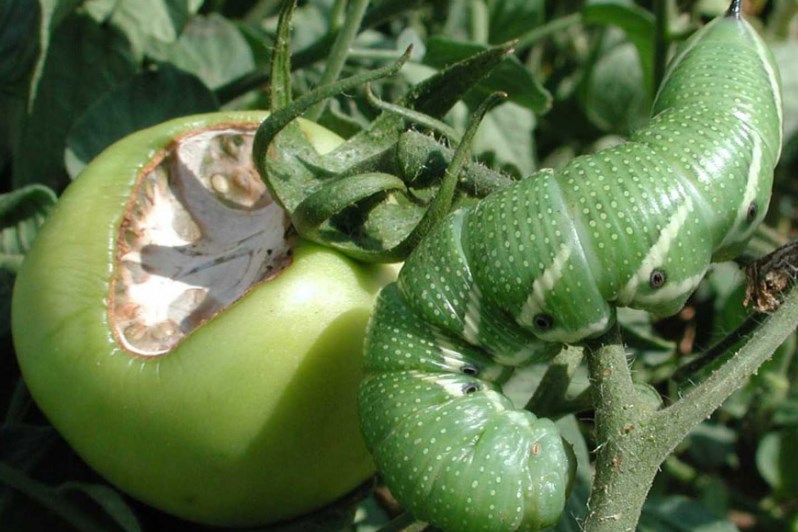
Worms up to four inches long, green with light stripes lengthwise or diagonally on both sides of the body. Worms have a prominent horn on their backs at the hind end. They feed on leaves and gouge out portions of immature fruit.
Mature worms burrow into the soil, form a pupa (cocoon) and after a resting period, emerge as adult Sphinx moths. The moths, which are active at night, deposit eggs on tomato plants. To control, hand pick worms or cut in half with pruning shears. Apply Bt. (Bacillus thuringiensis), spinosad or car aryl (Sevin).
3. Tomato Fruit Worm
Worms up to one and a half inches long. They vary in color from greenish yellow or pink to deep brown with dark stripes on their backs. The undersides are light green or flesh color. Worms feed on foliage and tunnel into fruit. Early plantings usually avoid most severe damage. To control, apply Bt. (Bacillus thuringiensis), spinosad or carbaryl (Sevin) before worms enter the fruit. Pick and discard wormy fruit.
4. Pinworm
Worms never longer than one-quarter inch. Young worms are light pink. Older worms are purplish. Worms usually enter fruit at the stem end and tunnel into the core and fleshy parts radiating from the core of fruit. Worms also mine leaves and fold them together. To control, apply spinosad or carbaryl (Sevin) before worms enter the fruit.
5. Aphids
Small soft-bodied insects which may be black, green, yellow or pink. They are usually in colonies on leaves and stems. Aphids suck fluids from plant tissues and excrete a sticky liquid called honeydew on which a black sooty mold fungus grows. To reduce infestations, wash plants with a forceful spray of water or spray aphids with insecticidal soap or pyrethrin.
6. Whiteflies
Adults are tiny, moth-like insects with powdery white wings and bodies. The young are immobile yellow to greenish scale-like bodies found mostly on the undersides of leaves. Larvae remove sap, which causes leaves to turn yellow.
Honeydew, excreted by the larvae, is colonized by the sooty mold which blackens the foliage but does not harm it. Plants can sustain moderate infestations of whiteflies and still produce fruit. Contact insecticides are not very effective against whiteflies. For heavy infestations, apply insecticidal soap twice a week.
7. Buffalo Tree Hoppers
Adults are wedge-shaped green insects about 3/8″ long. They insert eggs into slits made in tomato stems. Larvae are dark green with shiny black projections. They cluster along stems and remove sap from the plant. Control with insecticidal soap, pyrethrin or malathion.
8. Leaf Miners
Slender white, winding tunnels in leaves are produced by the larvae of several species of insects, especially certain tiny flies. The damage that leaf miners cause is seldom a serious problem on tomatoes. Leaf miners are difficult to control with insecticides because the larvae are protected in their leaf mines.
9. Russet Mites
Tiny mites cannot be seen with the naked eye. With a 20 power hand lens, mites appear as whitish yellow pear shaped bodies which move slowly. Mites feed on foliage and stems. Lower leaves and stems turn a bronze or oily brown color. The damaged leaves dry out and drop from the plant as infestation spreads.
Do not grow tomatoes near petunias, potatoes or other solanaceous plants that are hosts of the russet mite. To control, apply sulfur (dust or spray) to young plants or when symptoms first appear. Repeated applications may be needed. Sulfur can injure plants during hot weather. Wash treated fruit before eating or canning.
10. Root Knot Nematodes
Microscopic eelworms which live in soil. They feed on small roots and cause them to form galls. Damaged roots cannot absorb water properly, so plants often wilt during warm weather. Plant resistant varieties.
11. Blossom End Rot
Green fruit develops a sunken tan colored leather spot at the blossom end. The condition develops due to a calcium deficiency in the fruit which often occurs when plants are under water stress.
Other contributing factors are excessive nitrogen fertilization and high soil salinity. The problem can usually be prevented by more thorough or more frequent irrigation. Using mulch around the tomato plants is also helpful.
12. Sun Scald
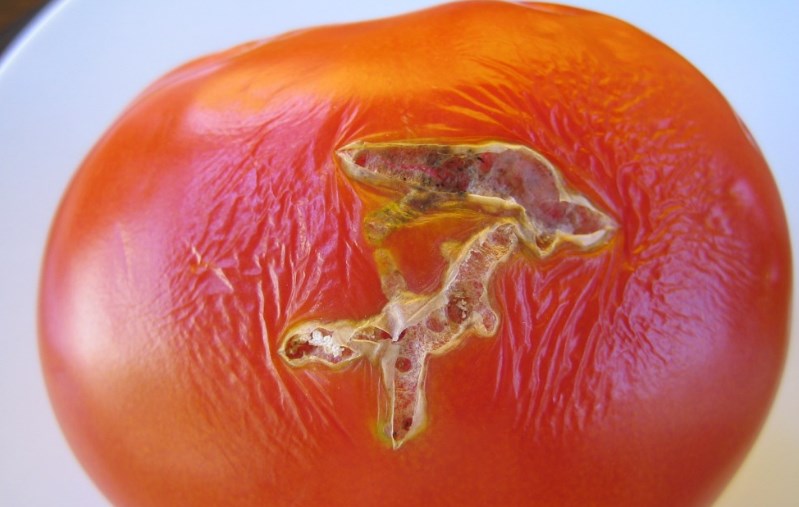
A yellow or white patch initially develops on the side of green fruit that is exposed to the sun. The spot may remain yellow as the fruit ripens or it may form a flattened grayish white spot with a dry paper-like surface.
Varieties that have sparse foliage are more susceptible to sun scald. Support vines with stakes or cages to shade fruit and do not remove suckers. Water and fertilize young plants to encourage foliage growth.
13. Smog
Ozone and other air pollutants damage foliage. Lower leaves turn yellow and eventually die. Plants grow poorly and blossoms may drop. Some varieties are more sensitive than others. Plant early to avoid severe damage.
Source: Papers by Vincent Lazaneo, Horticulture Advisor, University of California.
